Headlamp
Headlamp is an Addon that gives you a web-based UI for browsing and managing the Kubernetes resources of your Cluster — Pods, Deployments, Nodes, Namespaces, ConfigMaps, Events and more — without leaving the browser. SleakOps deploys Headlamp inside the Cluster, exposes it behind the SleakOps VPN, and issues a short-lived access token that mirrors the permissions of the logged-in SleakOps user.
The Headlamp addon is currently in Beta. The install and access flow are stable, but the underlying configuration surface may still evolve.
FAQs
What is Headlamp and when should I use it?
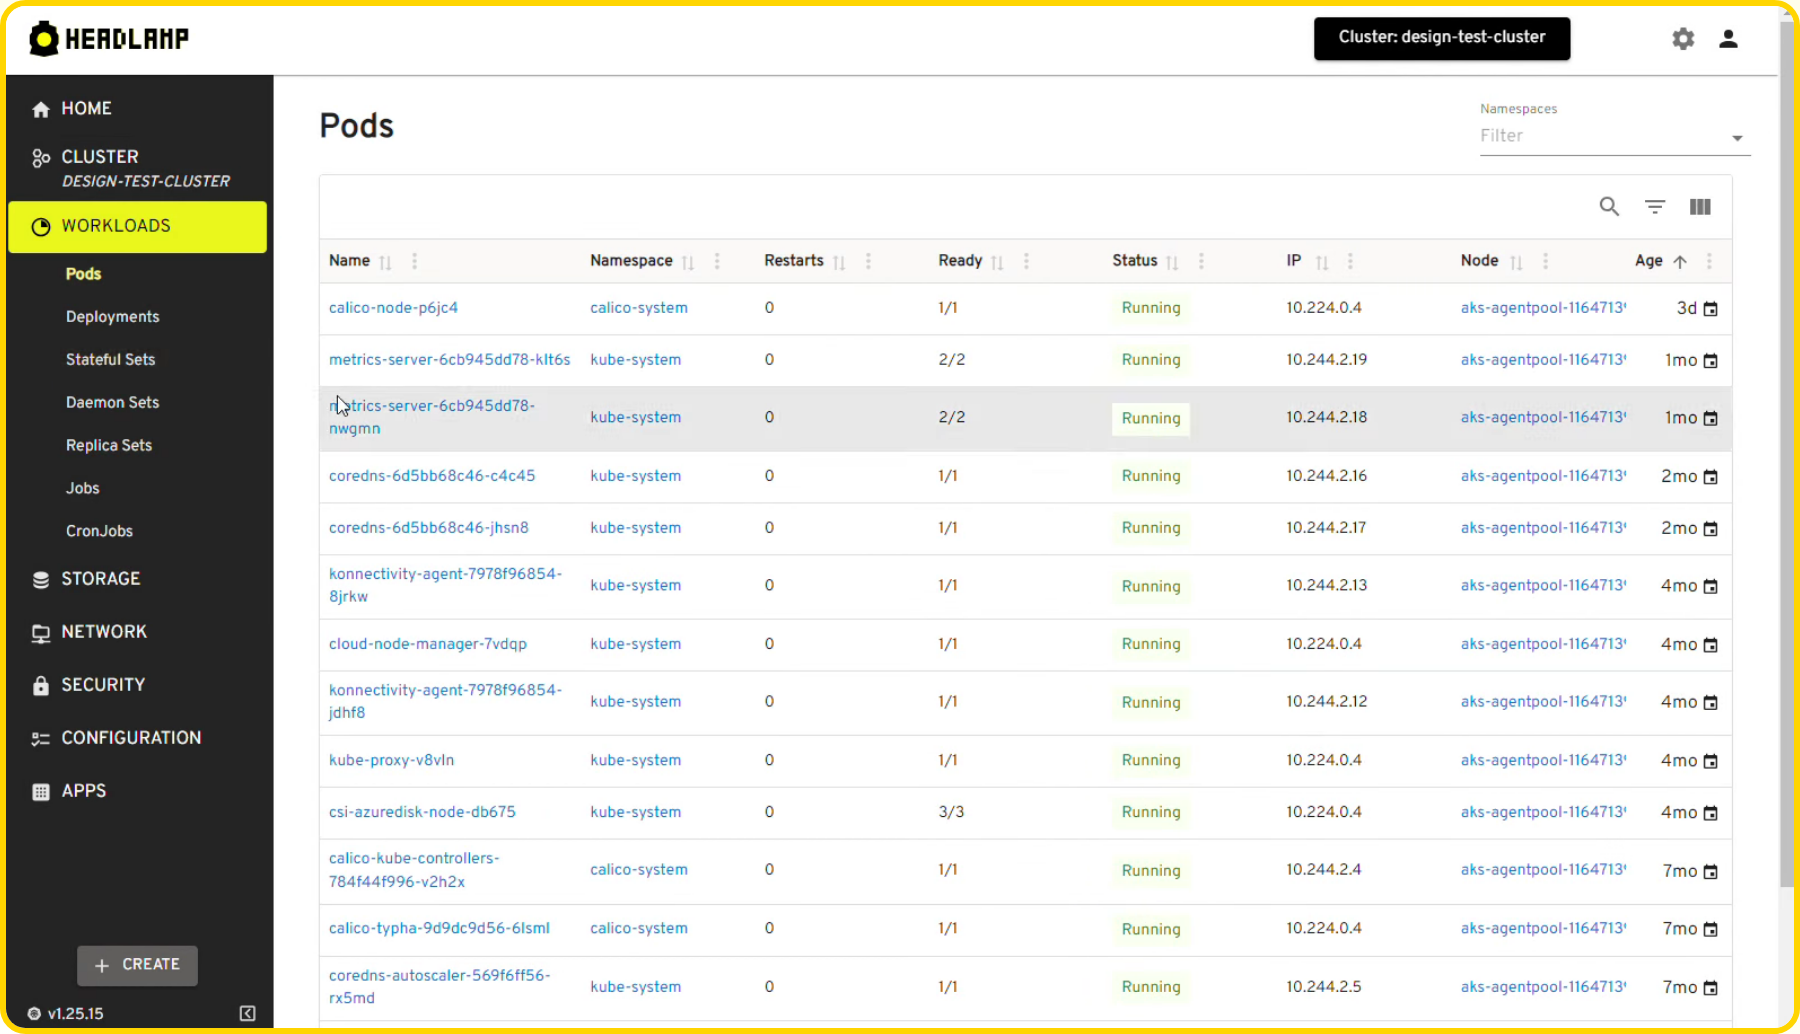
Headlamp is an open-source Kubernetes UI maintained by the CNCF. On SleakOps it is the recommended way to explore the state of a Cluster from the browser without installing kubectl locally. Typical uses:
- Inspecting Pod / Deployment status while debugging a failing release
- Reading container logs and Events for a specific Namespace
- Checking Node capacity and the workloads scheduled on each Node
- Running ad-hoc YAML edits with the same RBAC scope as your SleakOps user
For pure metrics use Grafana. For cost analysis use Kubecost. Headlamp focuses on the live resource graph of the Cluster itself.
How do I install Headlamp on my Cluster?
From the SleakOps console:
- Open the Clusters section and locate the target Cluster.
- Click Manage Addons on the Cluster card.
- In the addon list find Headlamp and open its detail drawer.
- Review the configuration and click Install.
The default configuration is enough for most clusters — Headlamp ships with its own Ingress, Service and RBAC bindings, all wired up by SleakOps.

How do I access Headlamp once it is installed?
Once Headlamp is installed the Cluster card shows a small Headlamp icon next to the other addons:
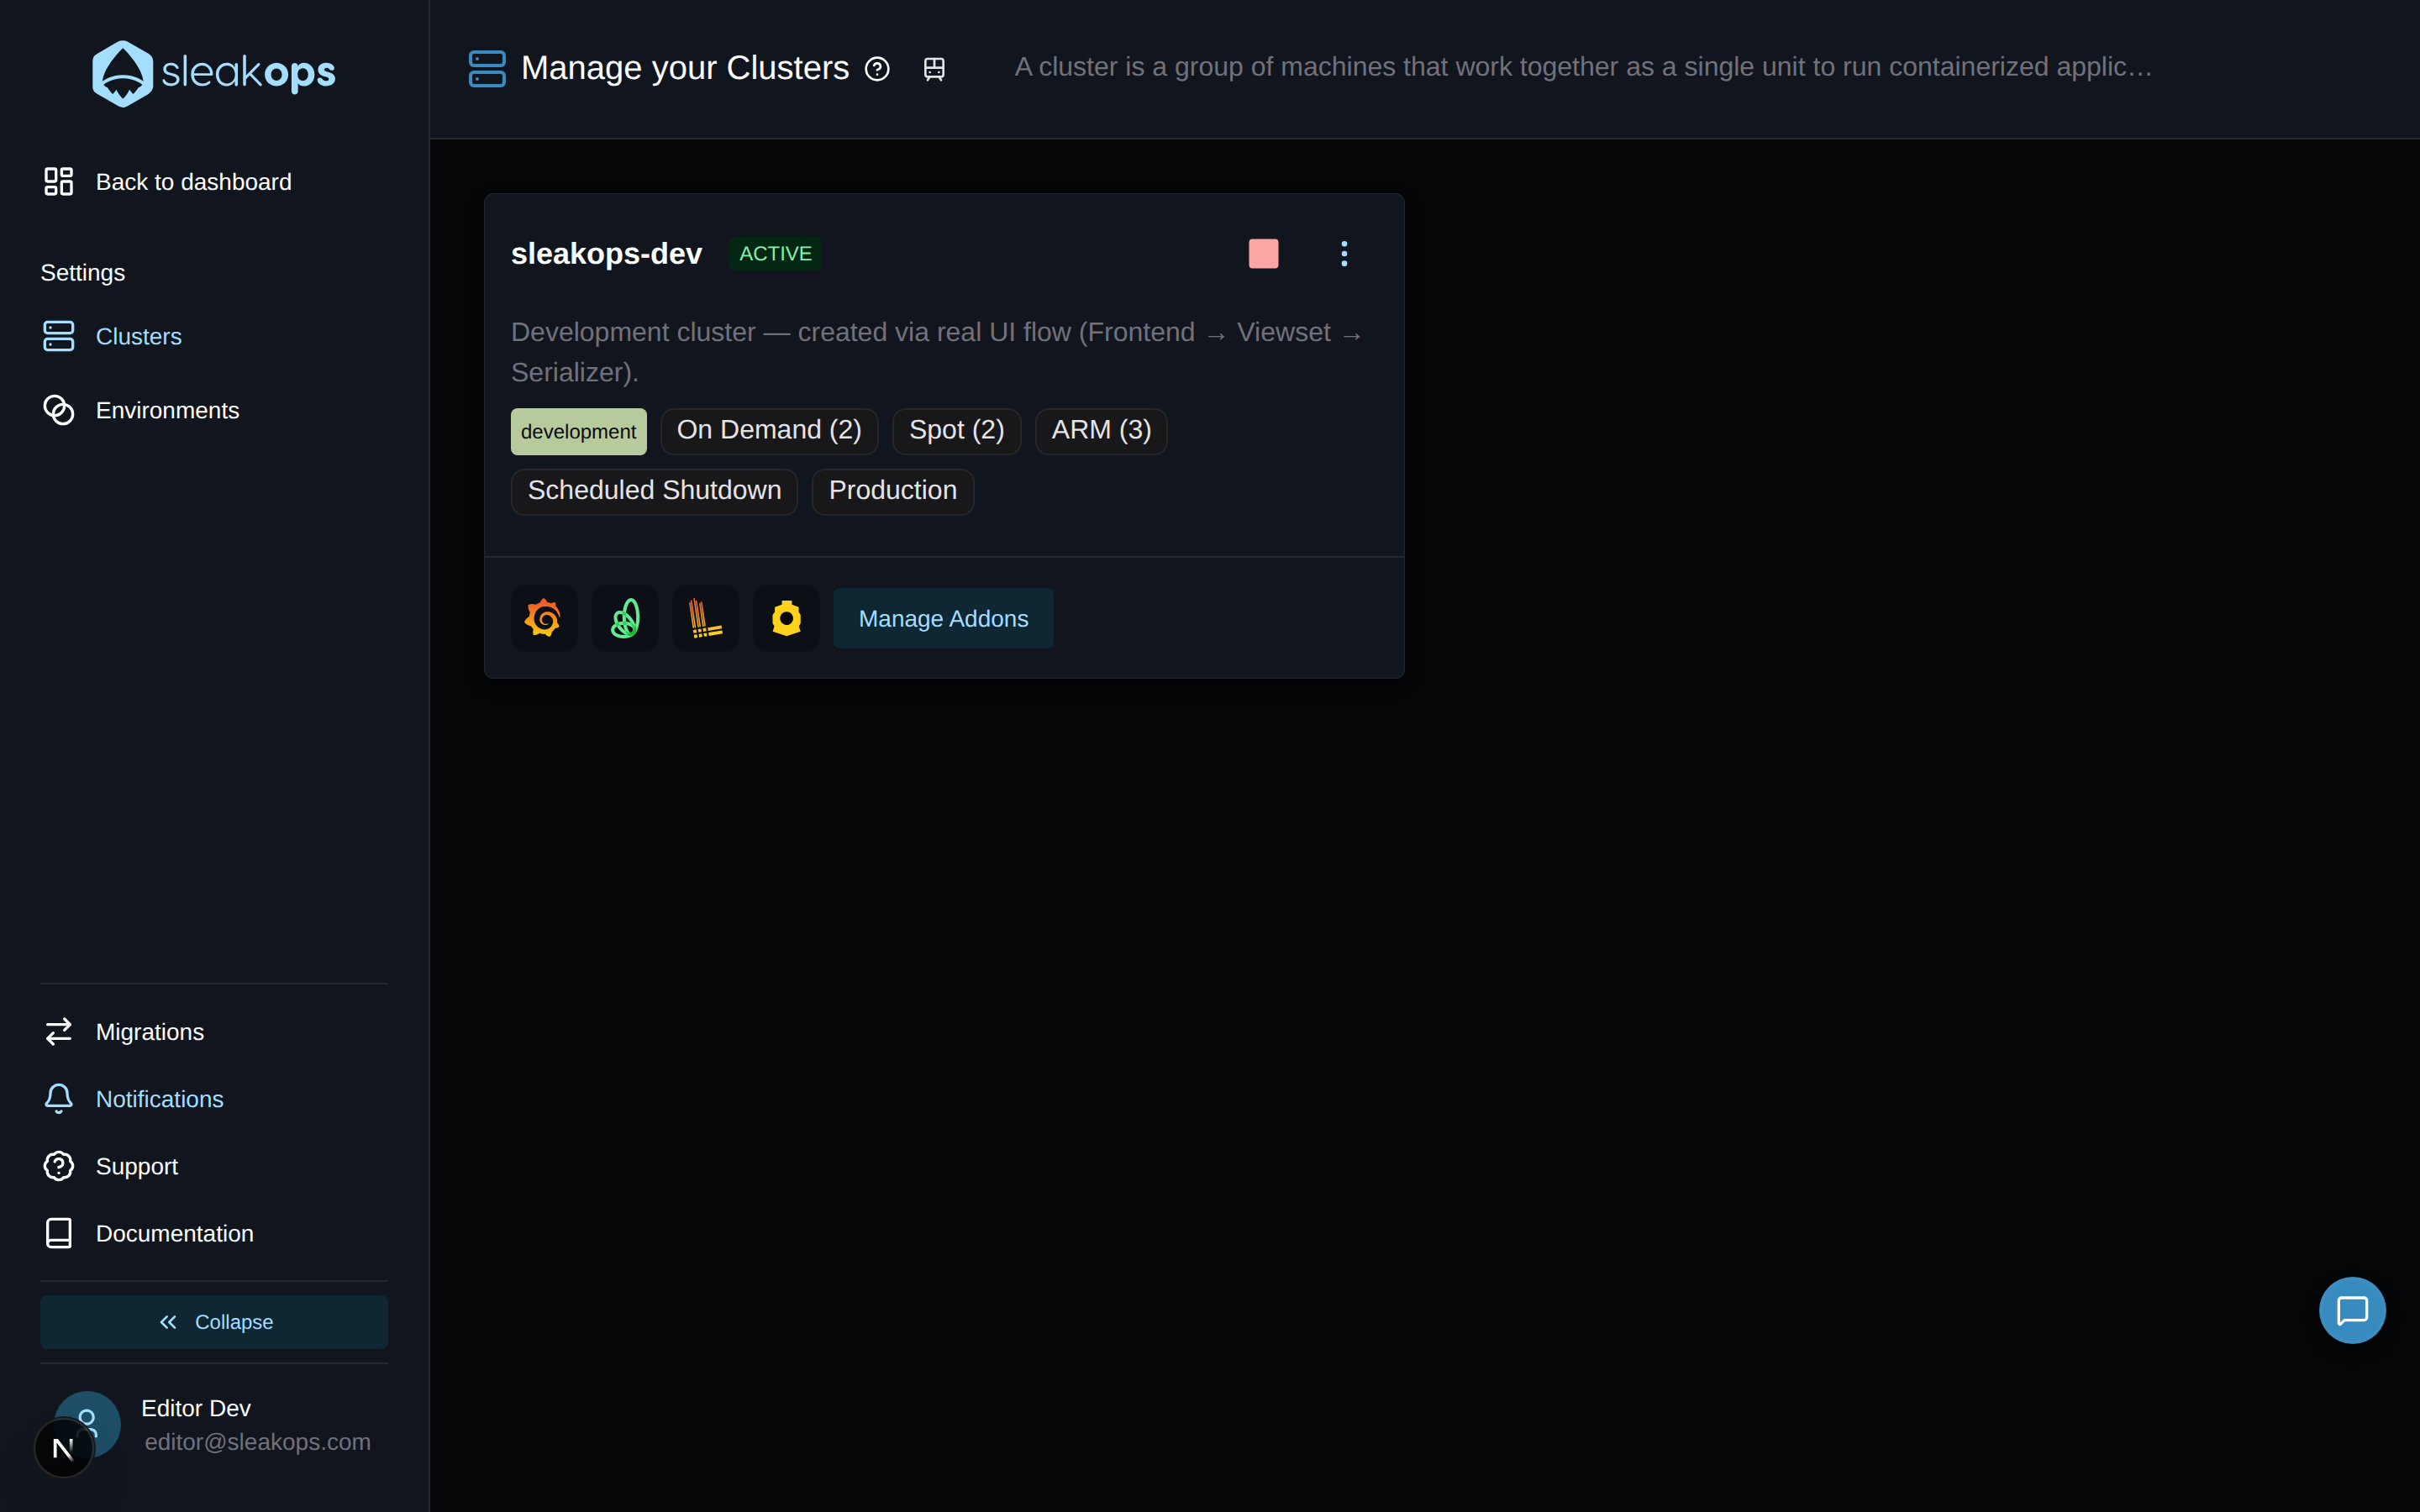
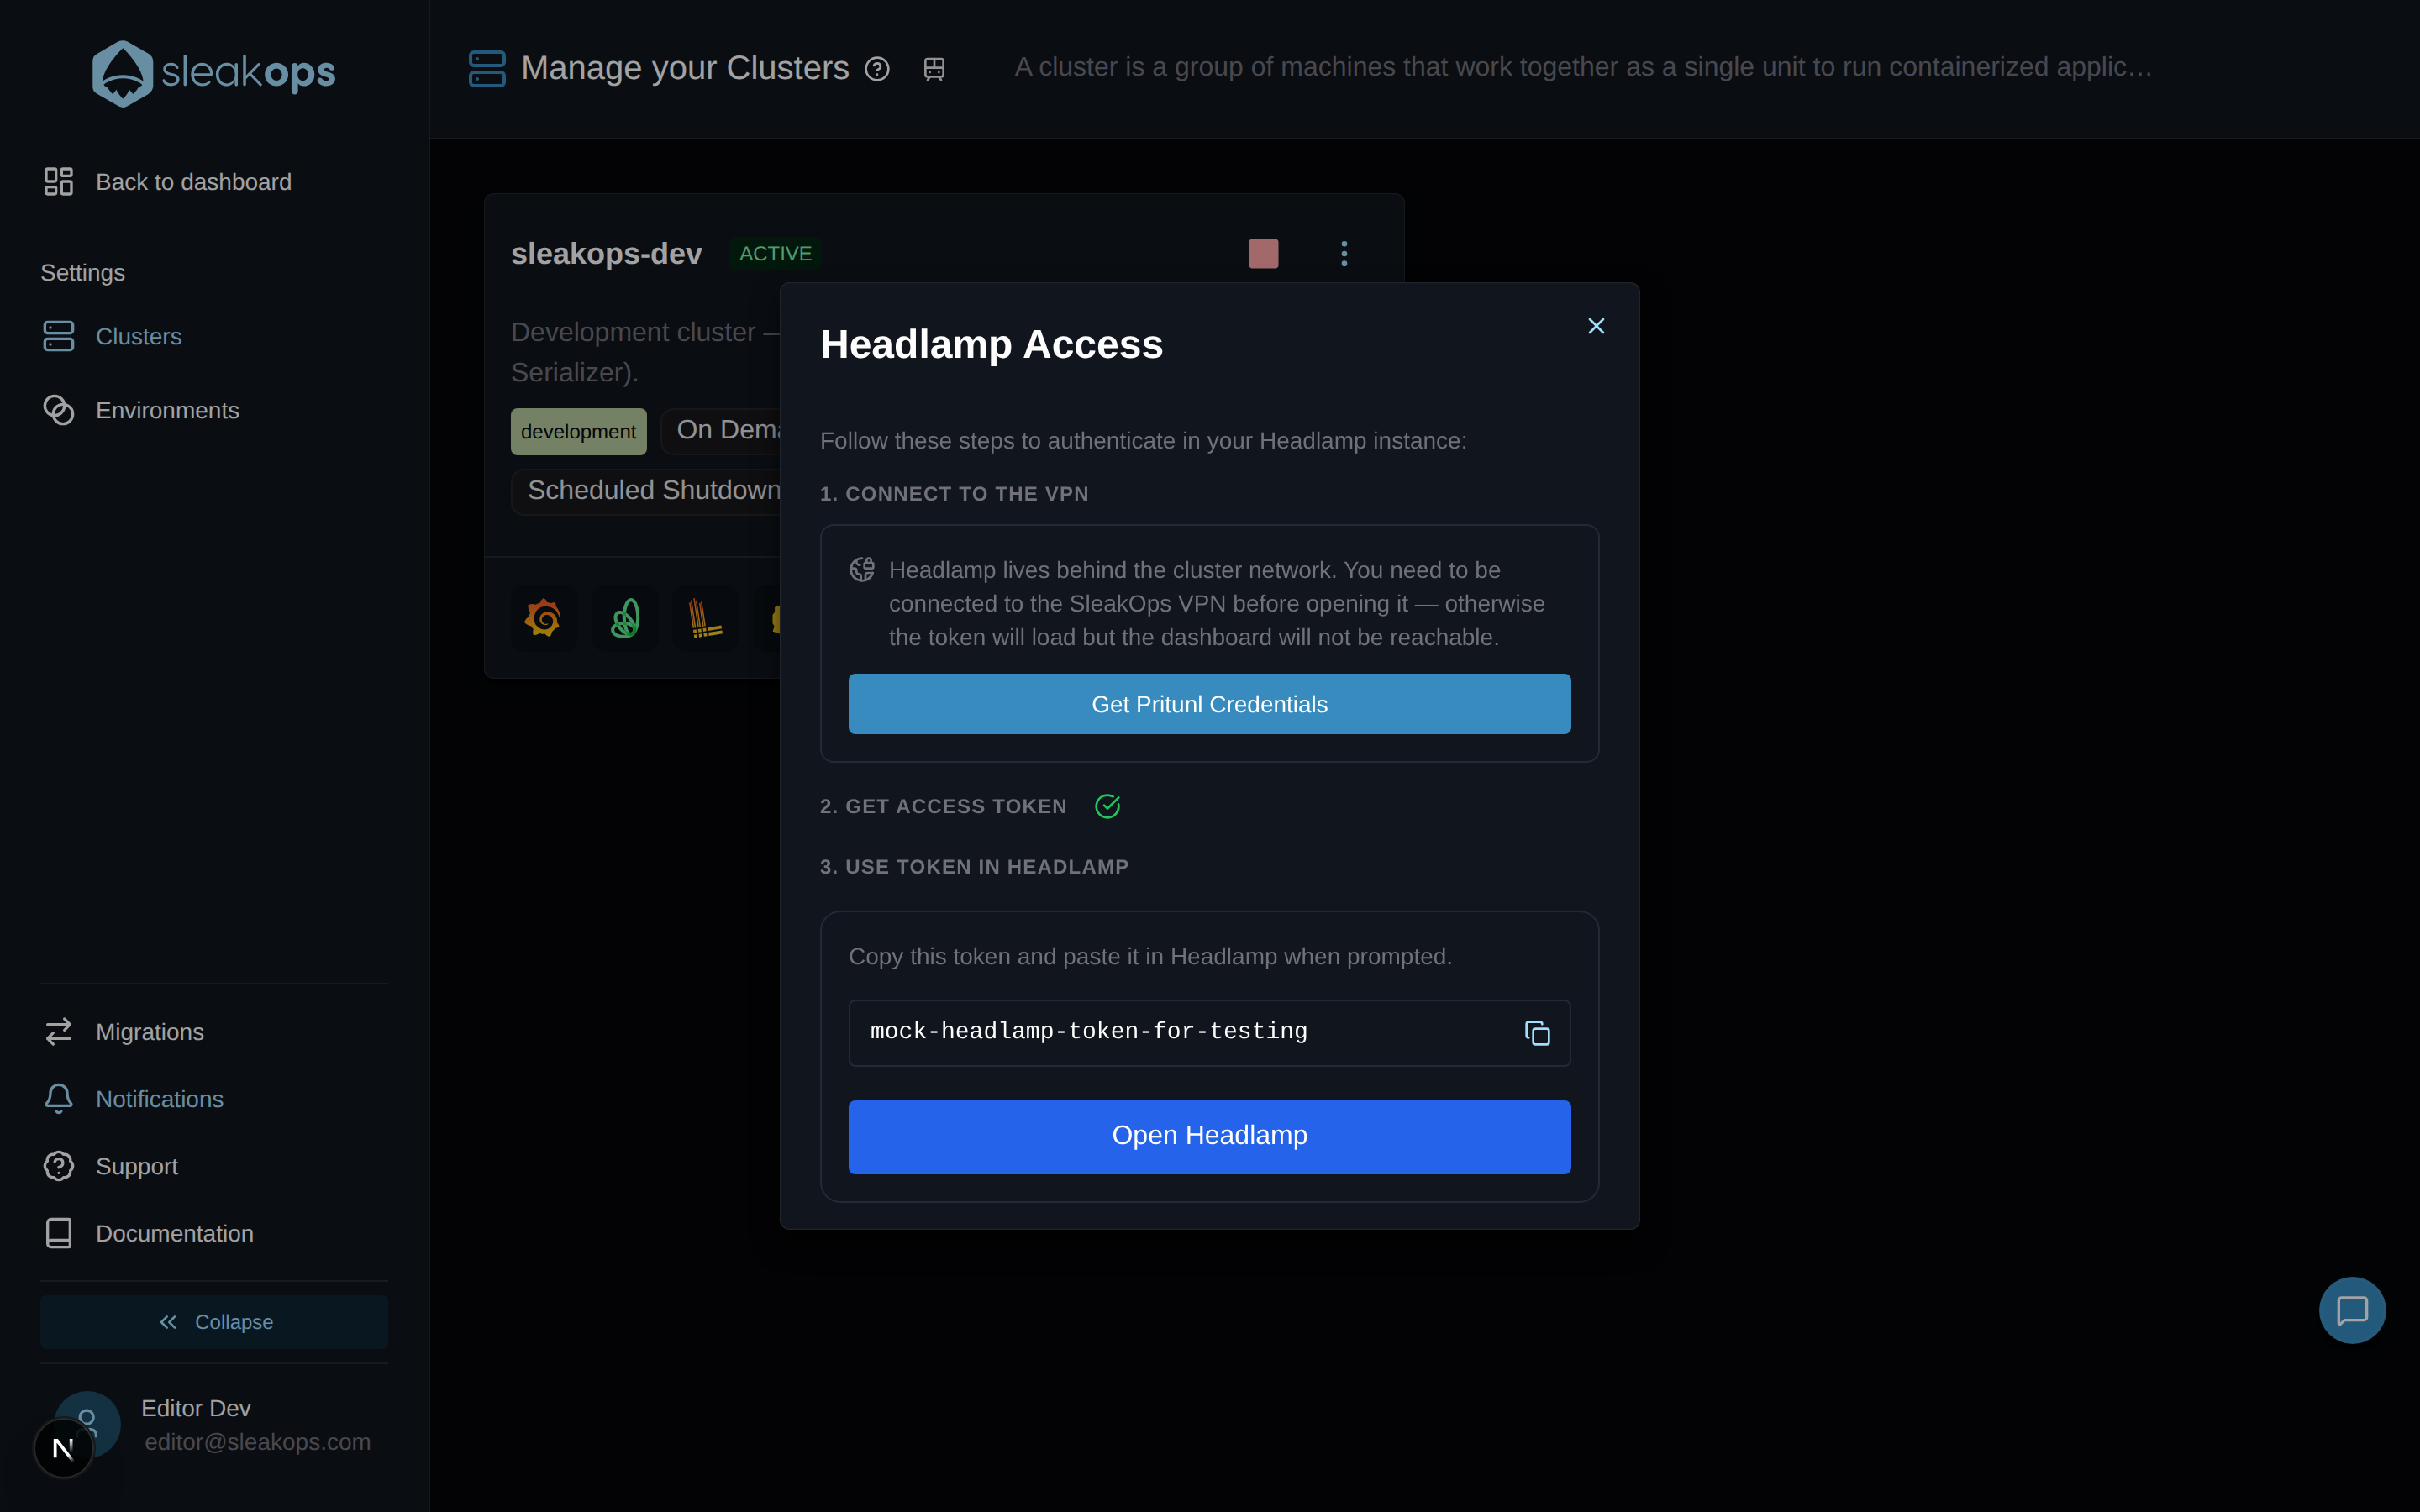
Click that icon to open the Headlamp Access dialog. The dialog walks you through three steps:
- Connect to the VPN. Headlamp lives behind the Cluster network. Use the Get Pritunl Credentials button to fetch the VPN profile if you do not have it yet.
- Get the access token. SleakOps generates a fresh token bound to your user. You will see a green checkmark once the token is ready.
- Open Headlamp. Click Open Headlamp to launch the dashboard in a new tab, then paste the token in the ID token field shown on the Headlamp login screen.
Why do I have to connect to the VPN?
The Headlamp endpoint is not exposed publicly. It listens on a private hostname inside the Cluster network so that the Kubernetes API surface — Pod logs, Secrets, RBAC, exec — is never reachable from the open internet. The same SleakOps VPN that protects Grafana and other in-cluster tools is what makes the Headlamp URL resolvable for your machine.
If the token is generated but the dashboard does not load, the VPN connection is the first thing to check. See the VPN documentation for setup details.
How long is the access token valid?
The token is short-lived. It is issued on demand each time you open the access dialog and expires after a short window — long enough to complete a debugging session, short enough that an accidentally shared token cannot be used indefinitely.
If your Headlamp session starts returning authentication errors, close the dashboard tab, reopen the access dialog from the SleakOps console, copy the new token and paste it again. SleakOps will mint a fresh one without any extra steps.
What does "role-scoped access" mean?
The token that SleakOps generates is bound to a Kubernetes ServiceAccount whose RBAC bindings mirror the permissions of your SleakOps role. In practice this means a viewer SleakOps user lands in a Headlamp session that can read resources but cannot edit, delete or exec into Pods, while an admin user gets the full set of management verbs.
Because the binding lives in the Cluster, the scoping holds even if the token is reused outside the SleakOps console — Headlamp itself does not grant extra permissions on top of what the token already carries.
Can I customize the Headlamp deployment?
Yes. The addon configuration exposes an Enable Custom Values switch. When toggled on, a YAML editor appears where you can override any value supported by the upstream Headlamp Helm chart (for example baseURL, ingress annotations, plugins, replica count).
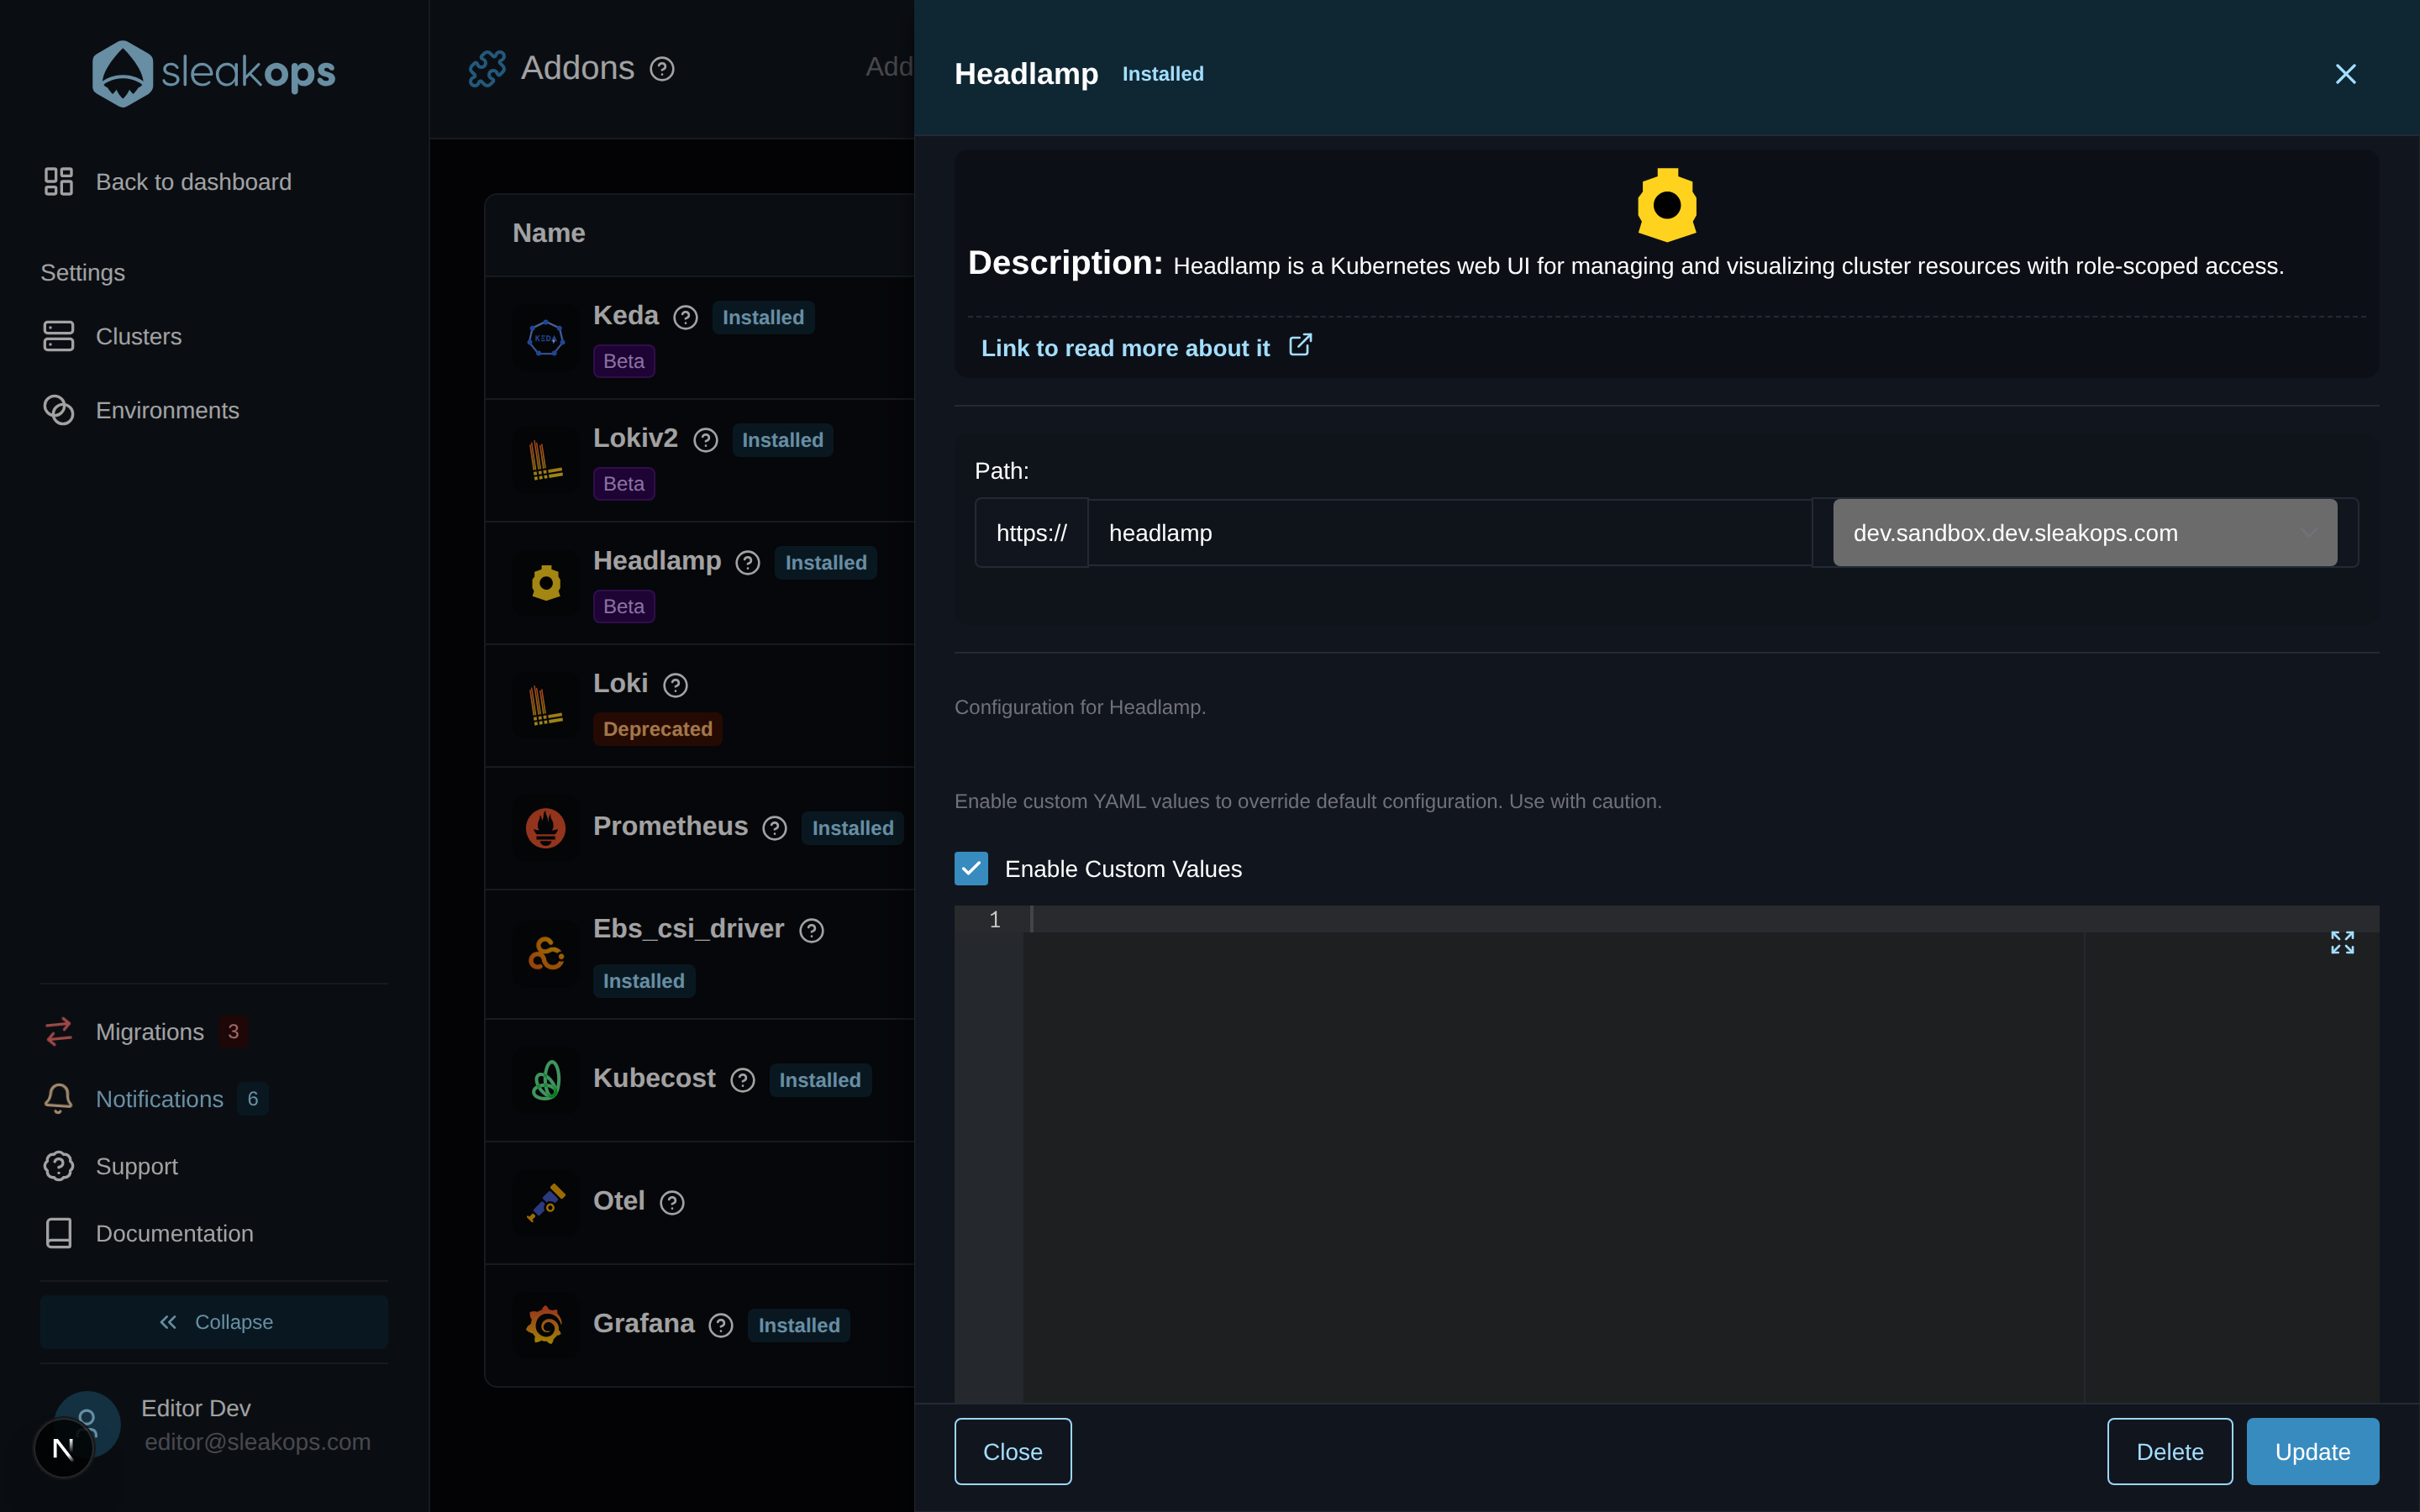
Custom Values override the defaults that SleakOps validates as part of the addon. Misconfigured values can break the deployment, the Ingress, or the token-based authentication flow. Keep the diff small and only change keys you understand. Refer to the official Headlamp Helm values for the full reference.