Deploy Build Resources
The Deploy Build Resources configuration allows you to specify the CPU and memory resource requests for both build and deployment processes. This helps ensure that your builds and deployments have sufficient resources to complete successfully while optimizing costs.
Resource Configuration
Access the Deploy Build Resources settings:
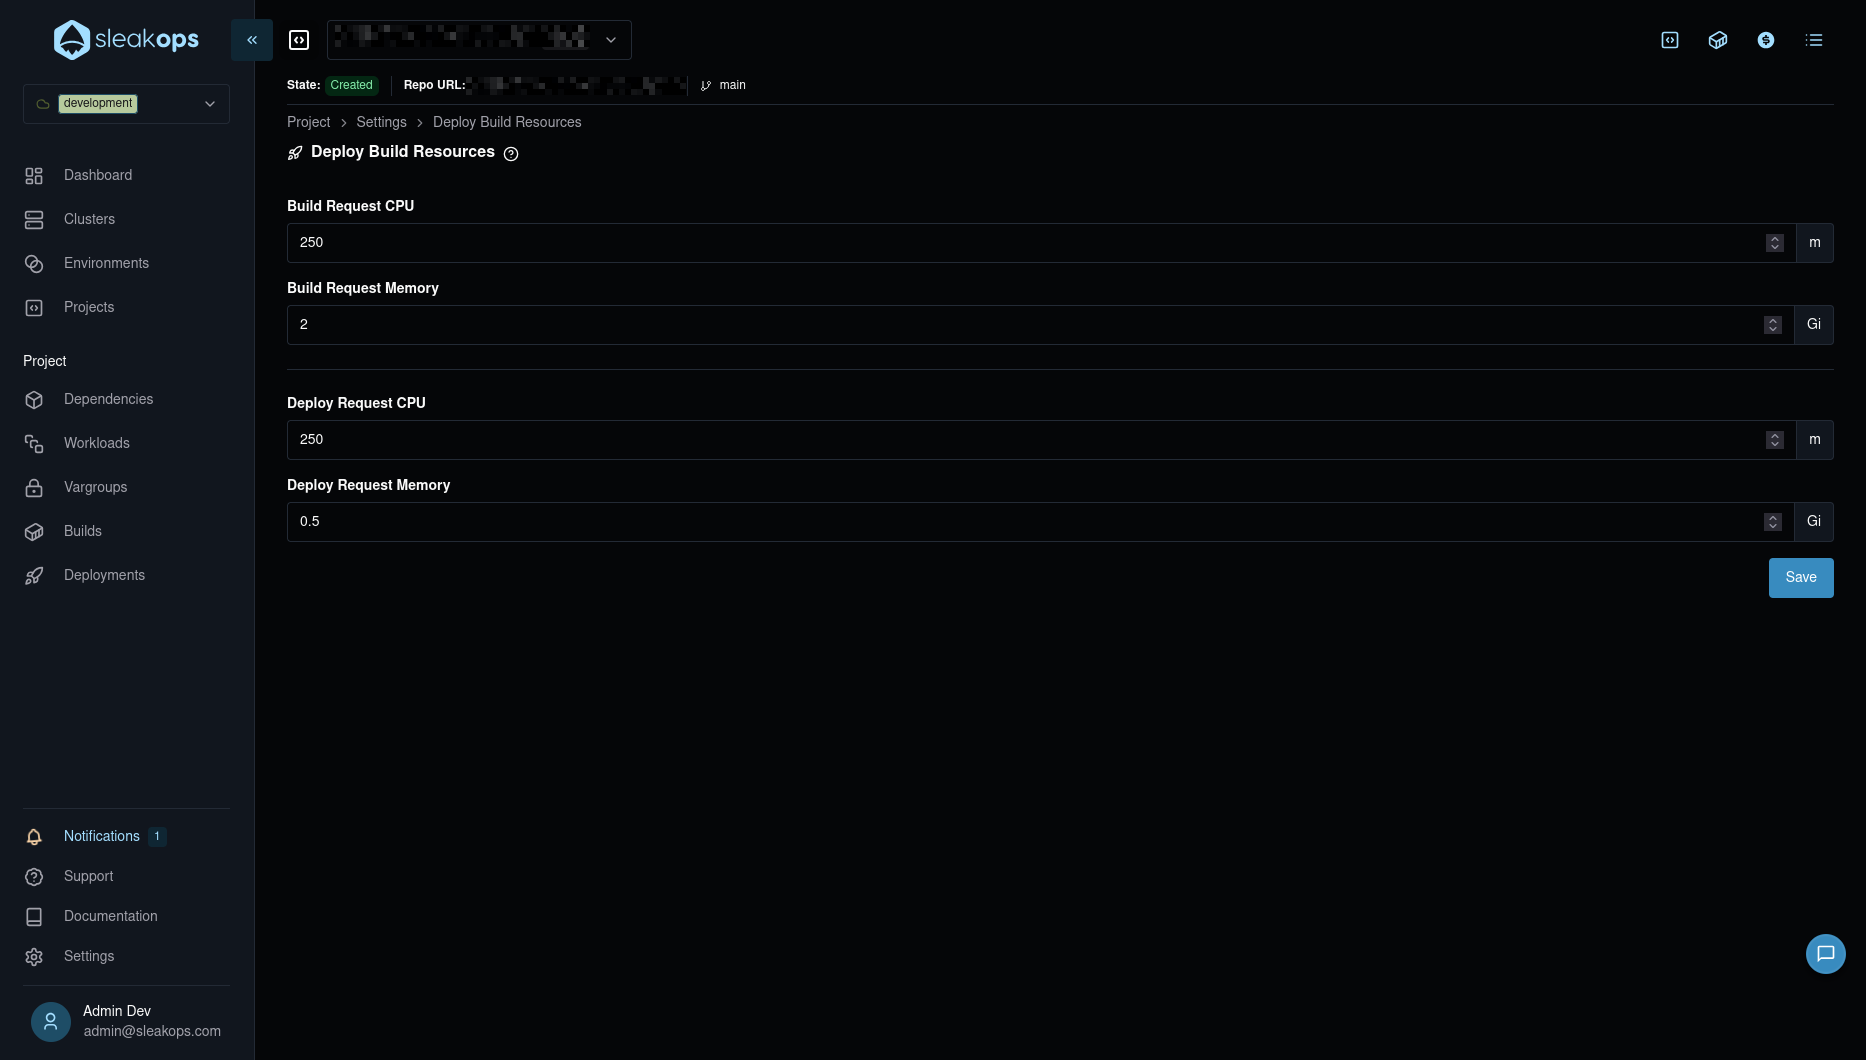
- Navigate to Project → Settings
- Select Deploy Build Resources from the settings menu
- Configure the resource values according to your project's requirements
- Click Save to apply the changes
Build Request Resources
Configure the resources allocated during the build process:
- Build Request CPU: Specifies the CPU allocation for build processes (measured in millicores)
- Build Request Memory: Specifies the memory allocation for build processes (measured in GiB)
Deploy Request Resources
Configure the resources allocated during the deployment process:
- Deploy Request CPU: Specifies the CPU allocation for deployment processes (measured in millicores)
- Deploy Request Memory: Specifies the memory allocation for deployment processes (measured in GiB)
- Start with default values and adjust based on build performance
- Monitor build times and resource usage to optimize allocations
- Higher resource allocations can reduce build times but increase costs
- Ensure your cluster has sufficient resources to accommodate the requested allocations
FAQs
What happens if my build or deployment exceeds the configured resources?
Before adjusting resources, always check your build and deployment logs to confirm that resource constraints are the actual cause of the failure. Look for specific error messages like OOMKilled or resource limit indicators.
When a build or deployment process consumes more CPU or memory than the configured request values, the Pod executing the process may be terminated by Kubernetes before completion. This results in:
- Failed builds: The build process stops mid-execution and fails to produce a Docker image
- Failed deployments: The deployment process is interrupted and doesn't complete successfully
- Error messages: You'll see errors indicating that the Pod was terminated due to resource constraints (OOMKilled for memory or CPU throttling)
This is a common issue when dealing with:
- Large codebases that require significant memory during compilation
- Complex build processes with multiple dependencies
- Projects with extensive testing or bundling steps
How do I increase build and deployment resources?
If you're experiencing build or deployment failures due to resource constraints, you can increase the allocated resources:
- Navigate to Project → Settings in the SleakOps interface
- Select Deploy Build Resources from the settings menu
- Increase the values for the resource that's causing issues:
- Build Request CPU: Increase if builds are slow or CPU-throttled
- Build Request Memory: Increase if builds fail with OOMKilled errors
- Deploy Request CPU: Increase if deployments are slow
- Deploy Request Memory: Increase if deployments fail during the process
- Click Save to apply the changes
- Trigger a new build or deployment to use the updated resource allocations
- Start by doubling the current values if you're experiencing failures
- Monitor the actual resource usage during builds/deployments
- Adjust incrementally until builds complete successfully
- Remember that higher values may impact costs and cluster capacity
How do I know what values to set?
Start with the default values and adjust based on observed behavior:
- If builds fail with OOMKilled errors, increase Build Request Memory (try 2Gi, 4Gi, or higher)
- If builds are very slow, increase Build Request CPU (try 1000m, 2000m, or higher)
- If deployments fail or timeout, increase the corresponding Deploy Request values
Monitor your build and deployment logs to identify resource-related issues and adjust accordingly.