Install KEDA
Learn how to install KEDA (Kubernetes Event-Driven Autoscaling) on your cluster using different methods. KEDA allows you to automatically scale your applications based on events and custom metrics.
If your cluster is managed by SleakOps, you can install KEDA in one click from the Addons section of your cluster — SleakOps deploys the operator, the metrics adapter, the admission webhooks, and wires up the IAM role via IRSA for the AWS scalers (SQS, CloudWatch, DynamoDB Streams, Kinesis, …).
See the KEDA Addon documentation for full installation steps, AWS policy configuration, and ScaledObject examples.
Installation Methods
Using Lens Interface (option 1)
- In the Lens menu or the Kubernetes IDE you use, go to Helm > Charts.
- In the search box, type keda. The official Bitnami chart should appear:
bitnami/keda
- Select the version you want (for example, the most recent available).
- Click on Install and in the next window review the values (YAML) for installation if you want to customize something (by default, it is usually sufficient).
- Confirm the installation by pressing Install again.
Using Helm via Terminal (option 2)
If you prefer the command line or do not have the Helm section in Lens, you can install it like this:
helm repo add bitnami https://charts.bitnami.com/bitnami
helm repo update

# Create a namespace (optional)
kubectl create namespace keda

# Install KEDA
helm install keda bitnami/keda --namespace keda
Installation Verification
After installation, you should see that the KEDA resources have been created:
In Lens
- Select the namespace where you installed KEDA (by default,
kedaif you created it manually). - You will see a Deployment called
keda-operator, one or more Pods, and other CRD (Custom Resource Definitions) type resources such asScaledObjectsandTriggerAuthentications.
Via Terminal (optional)
kubectl get all -n keda
You should see the operator running, for example:
NAME                                        READY   STATUS    RESTARTS   AGE
pod/keda-operator-xxxxx-xxxxx               1/1     Running   0          1m
If everything is in order, you can now use KEDA for your first autoscaling based on events or custom metrics.
Define ScaledObject in KEDA
Now we will create a ScaledObject. This resource is what tells KEDA how and when to scale the deployment. In this example, we will use a CPU trigger, although KEDA handles it internally via HorizontalPodAutoscaler (HPA), but the logic integrates with the KEDA CRD.
You can review all possible triggers that KEDA offers in the official documentation here.
Creating the ScaledObject
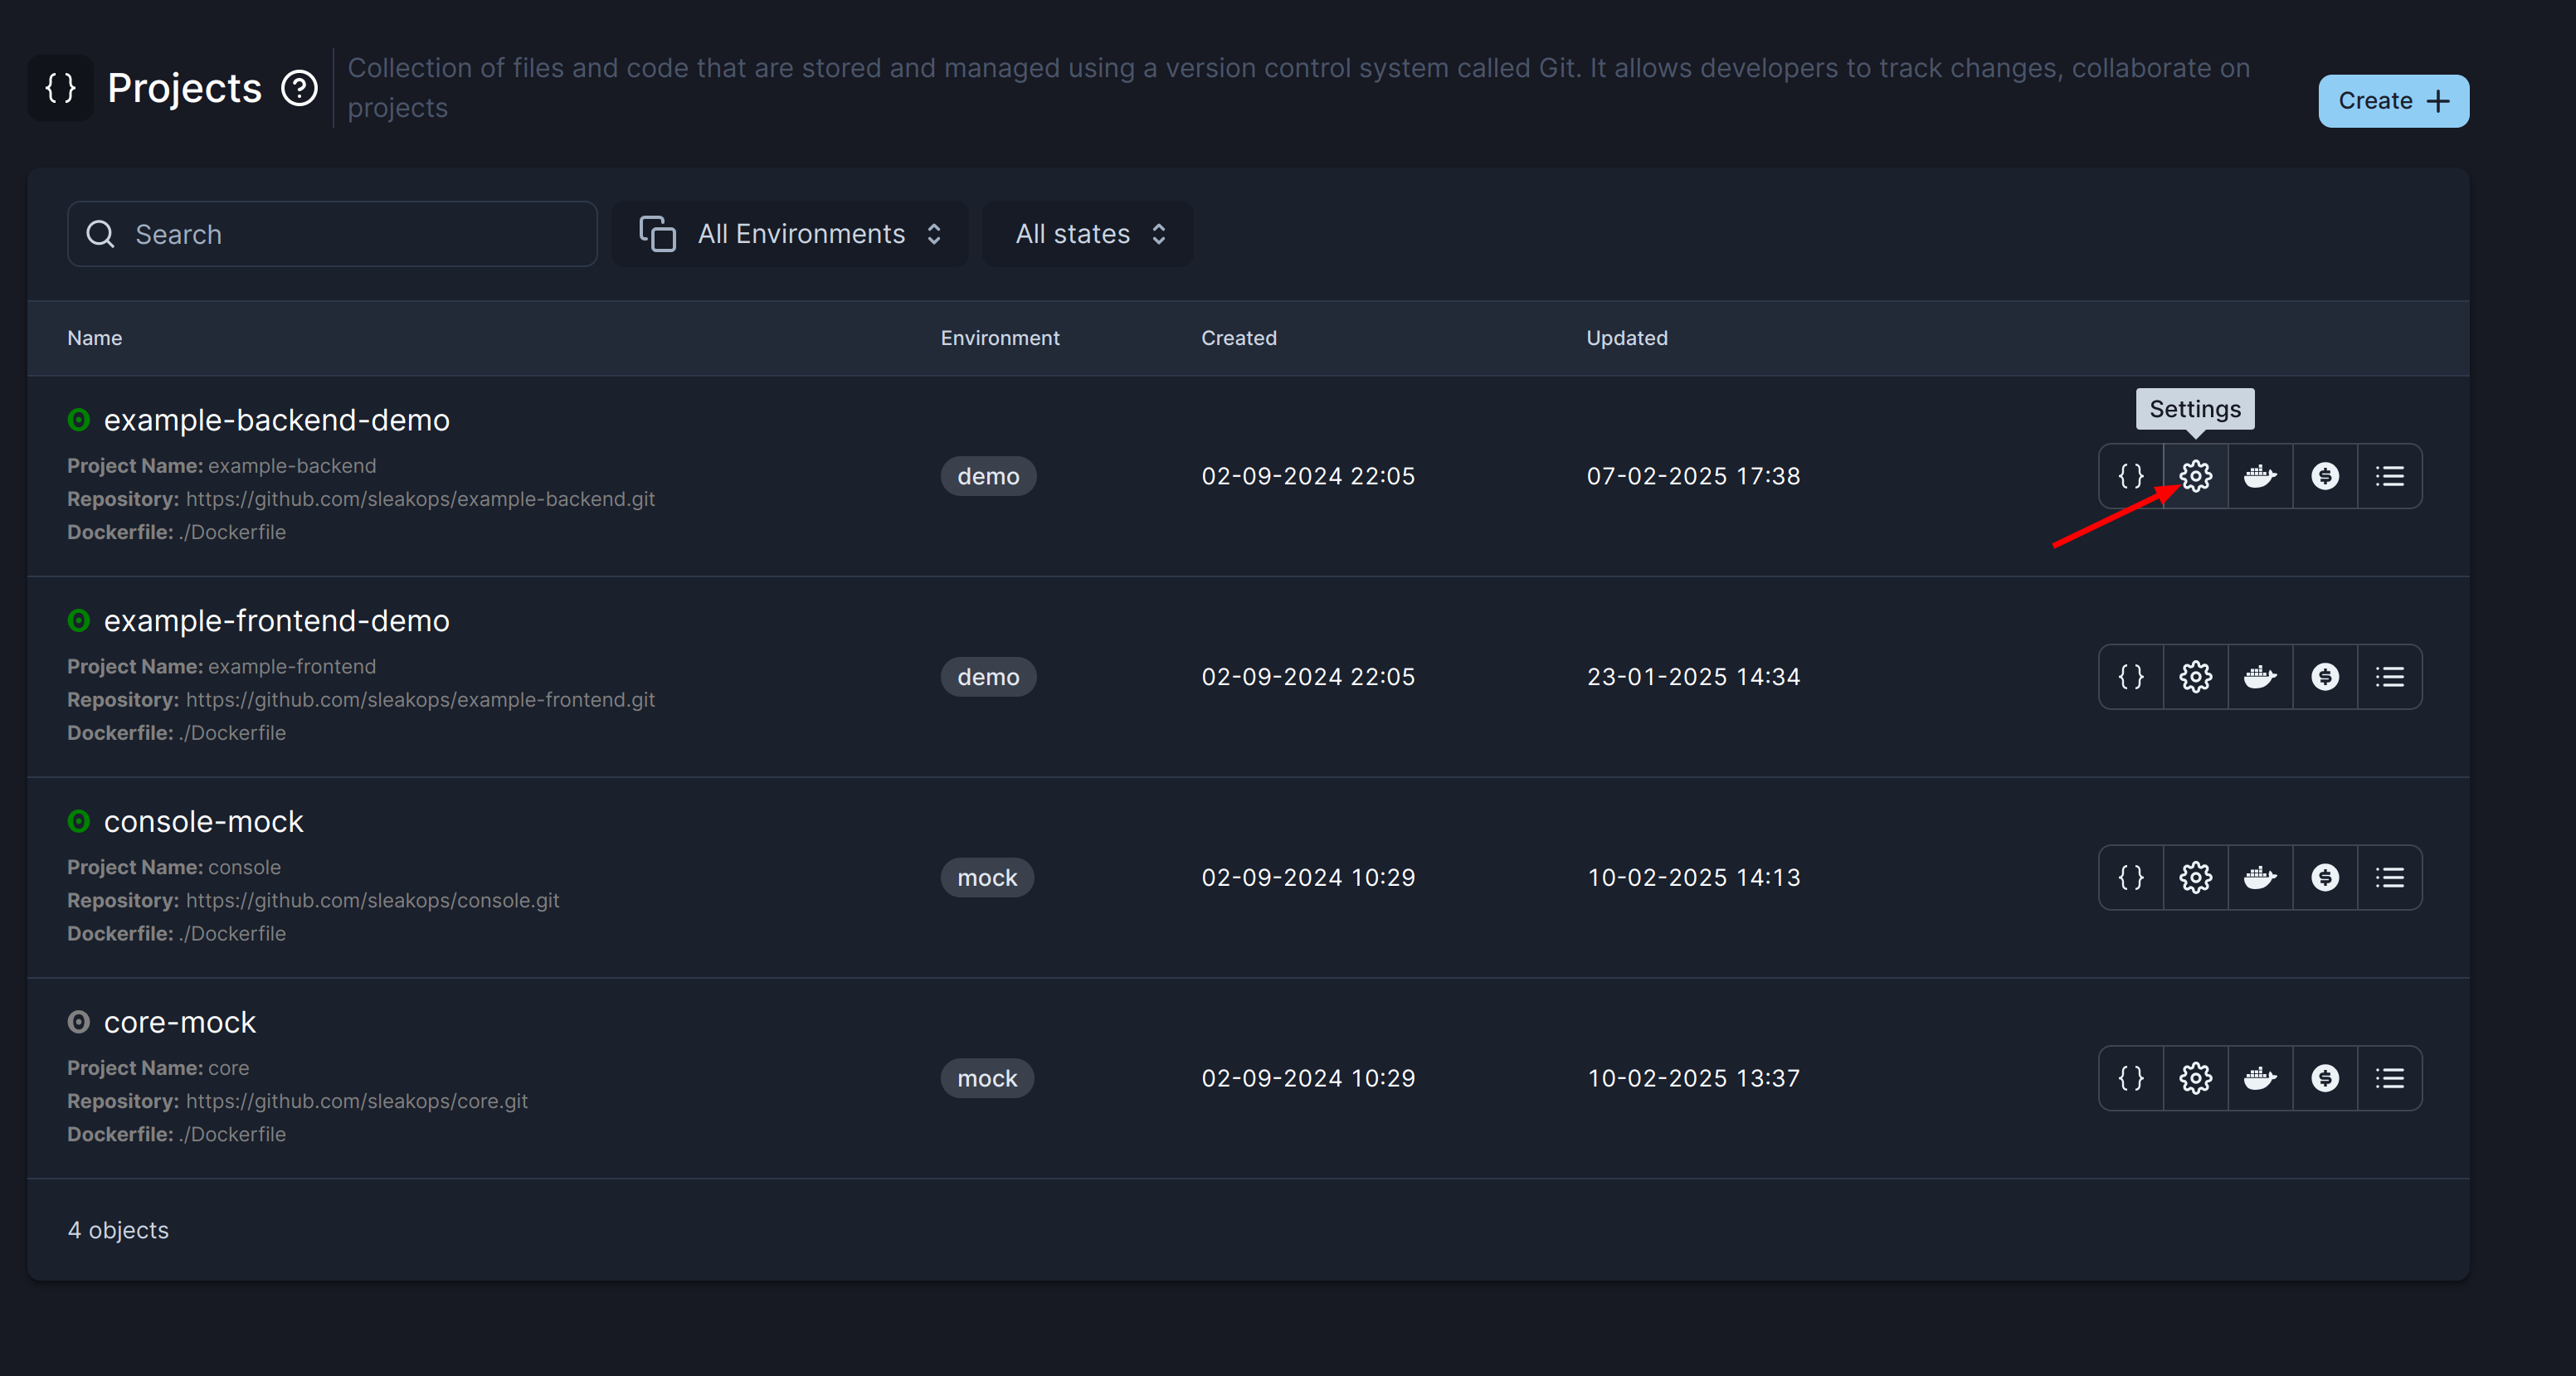
To create this object we will use the extend-charts function in Sleakops. To get there from the project list in Sleakops, go to Settings > Chart Configuration.

Once you are on the Chart Configuration screen, you can add your ScaledObjects.
To complete the ScaledObject values, you will need some values such as the namespace and the deployment object name (generated by Sleakops) in the cluster.
- For the namespace, you could use the following annotation, as in the following example:
{{ .Values.global.namespace }}to extract it from the values that Sleakops already generates - For the deployment name, we do not currently provide it. To get it, you can enter Lens or your Kubernetes IDE and go to the Workloads > Deployments section
apiVersion: keda.sh/v1alpha1
kind: ScaledObject
metadata:
  name: http-echo-scaledobject
  namespace: { { .Values.global.namespace } }
spec:
  scaleTargetRef:
    # Must match the Deployment name
    name: http-echo-deployment
  # minReplicaCount and maxReplicaCount determine scaling limits
  minReplicaCount: 1
  maxReplicaCount: 5

  # Trigger that defines the scaling condition (in this case CPU)
  triggers:
    - type: cpu
      metadata:
        type: Utilization # or AverageValue
        value: "50" # scales above 50% CPU