Navigate in Sleakops
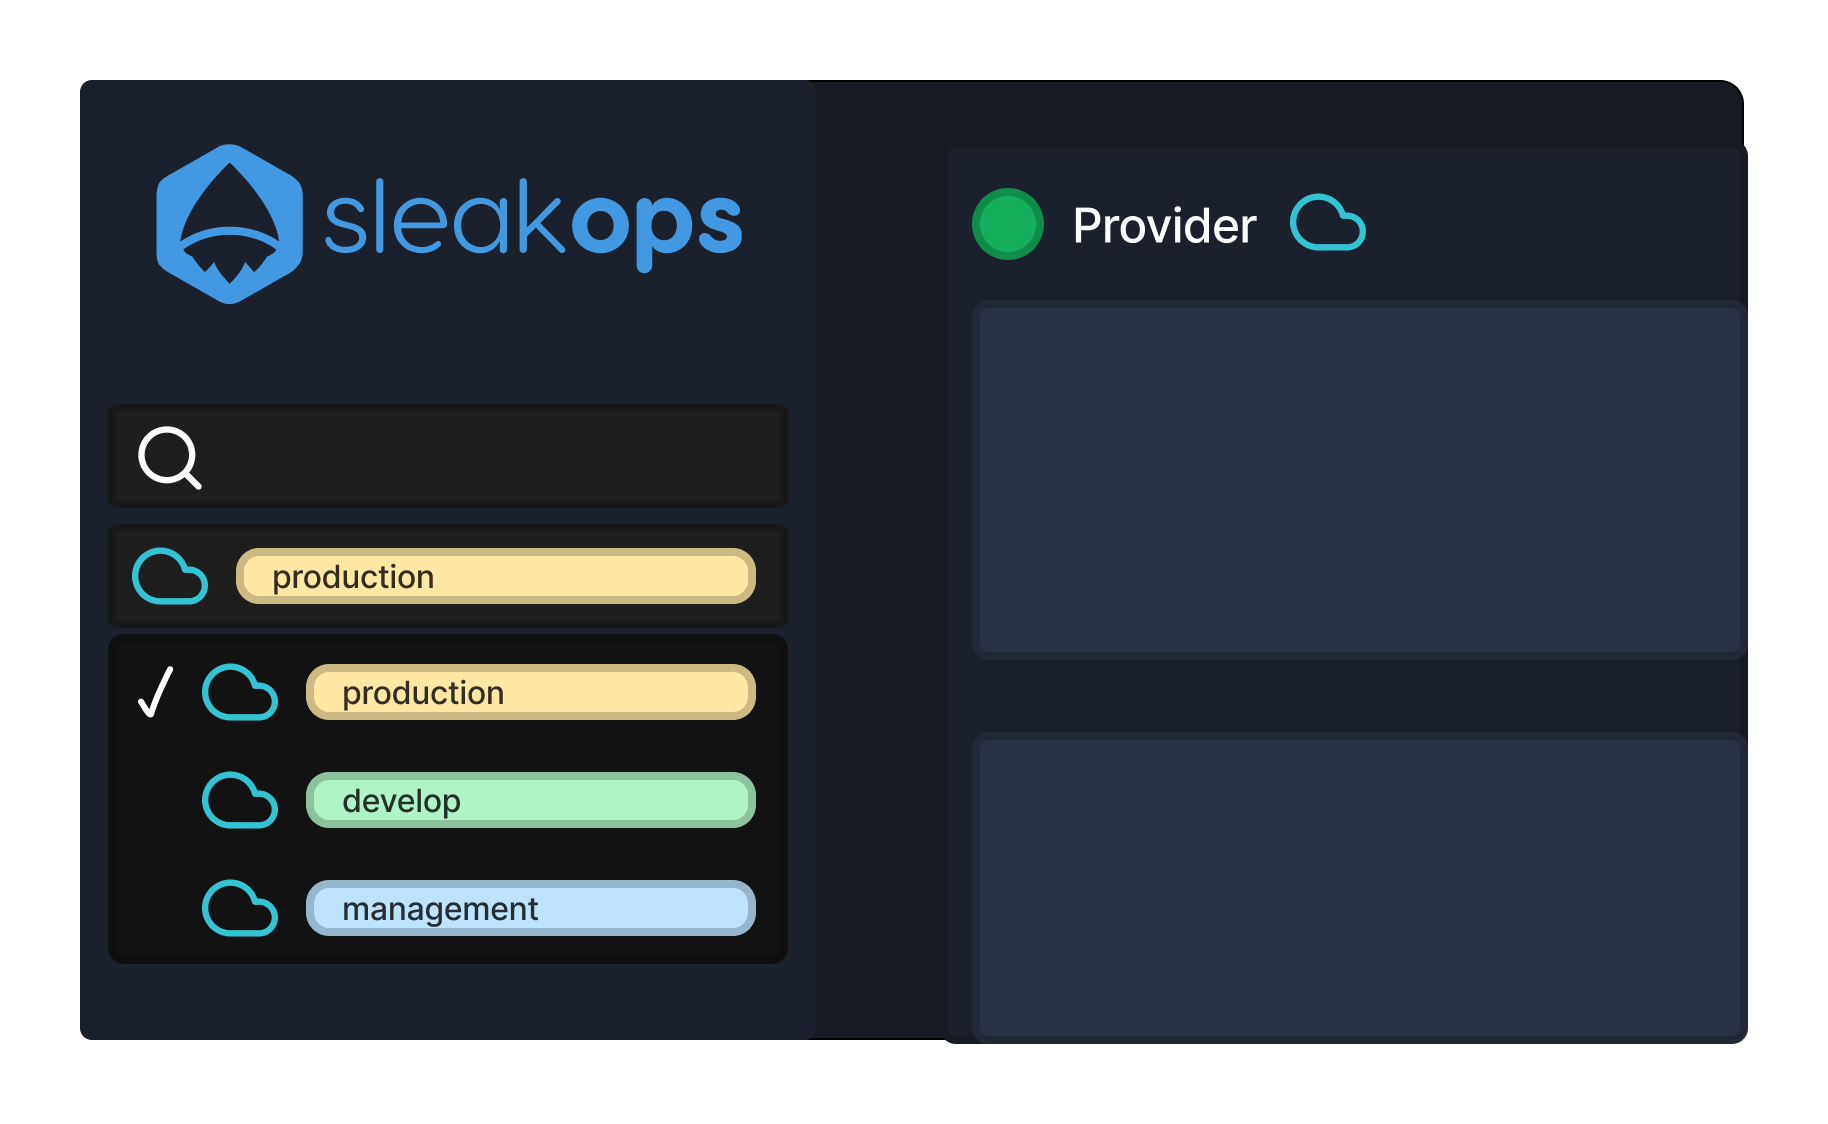
Account Selector
After creating your first Cloud Provider, you will encounter a screen very similar to this one, where you will need to choose the "Account" you will work in (also known as development environments).
If you want to have a better understanding of how Sleakops manages its architecture, you can review the Architecture Overview.
For this, you can access the account selector located in the upper section of the Sidebar.
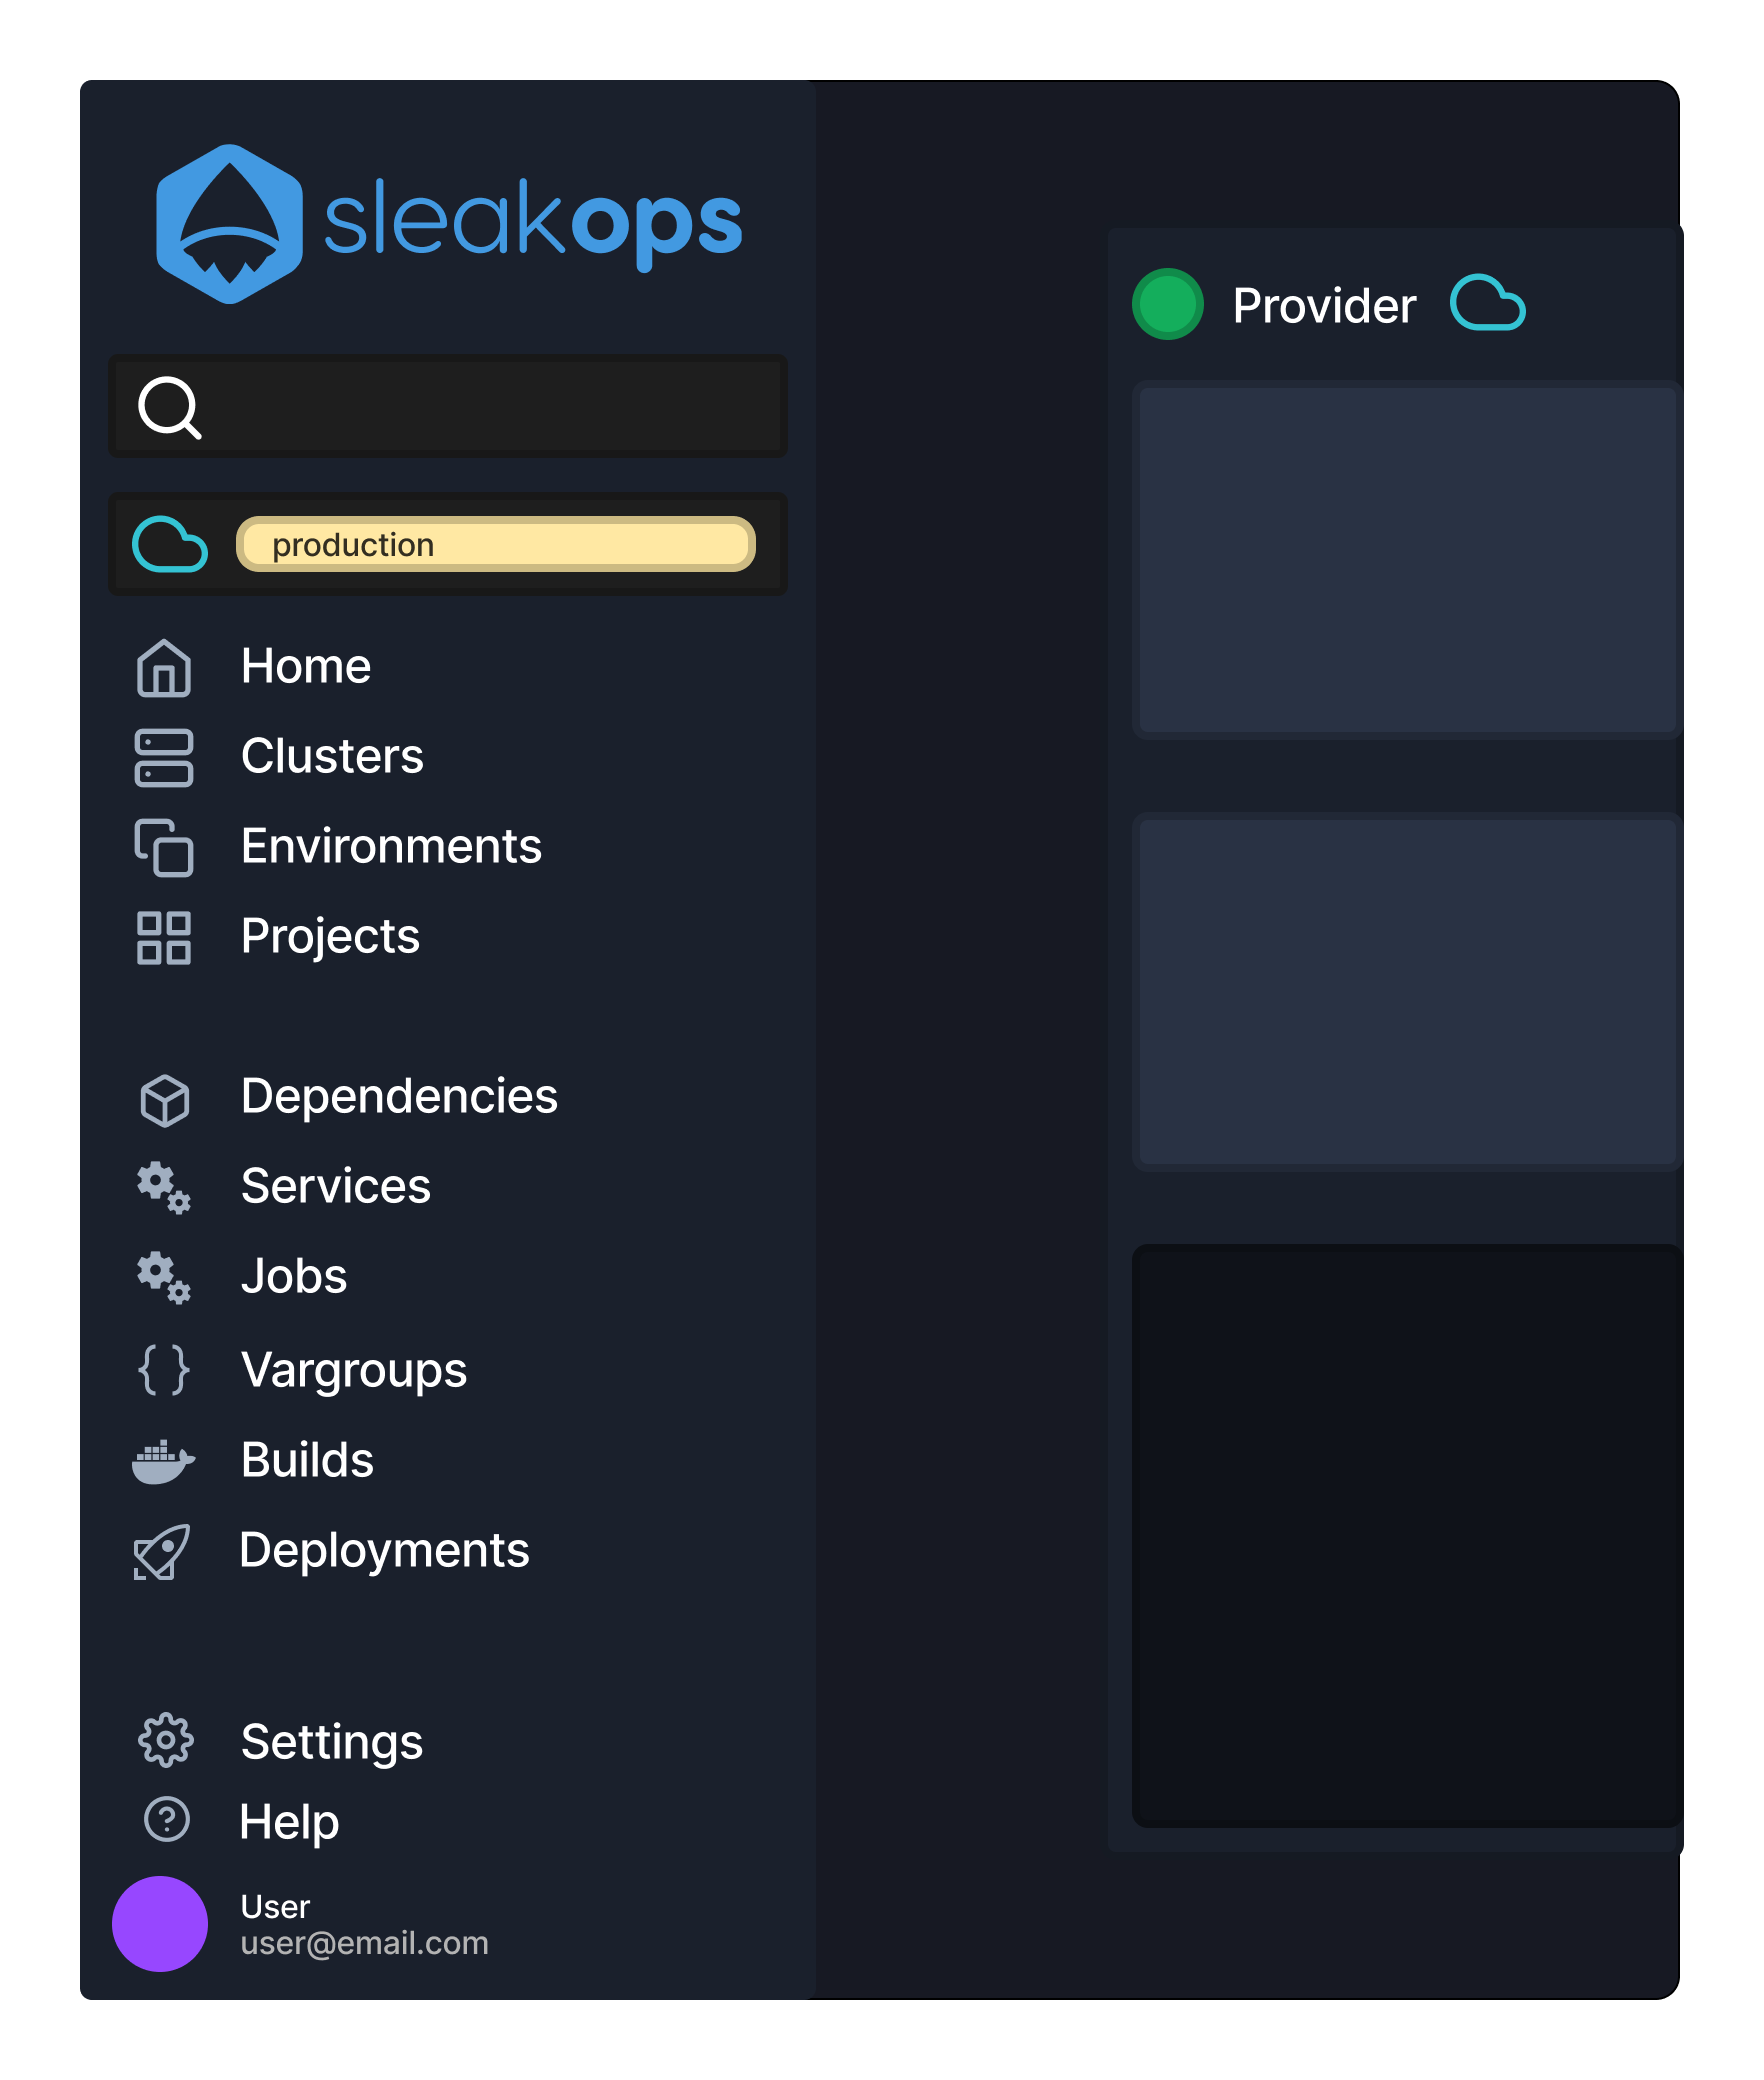
Sidebar
After selecting the account, the options for navigating through the different resources that you are capable of deploying using Sleakops will be enabled. At a glance, two groups can be observed. The first group, composed of Clusters, Environments, and Projects, refers to first-level resources, which are necessary to deploy second-level resources such as Dependencies, Services, Jobs, Vargroups, Build, or Deployments.
Sidebar Footer
At the end of the sidebar, you'll find options dedicated to user management, cloud service providers, and session management.
Workspace
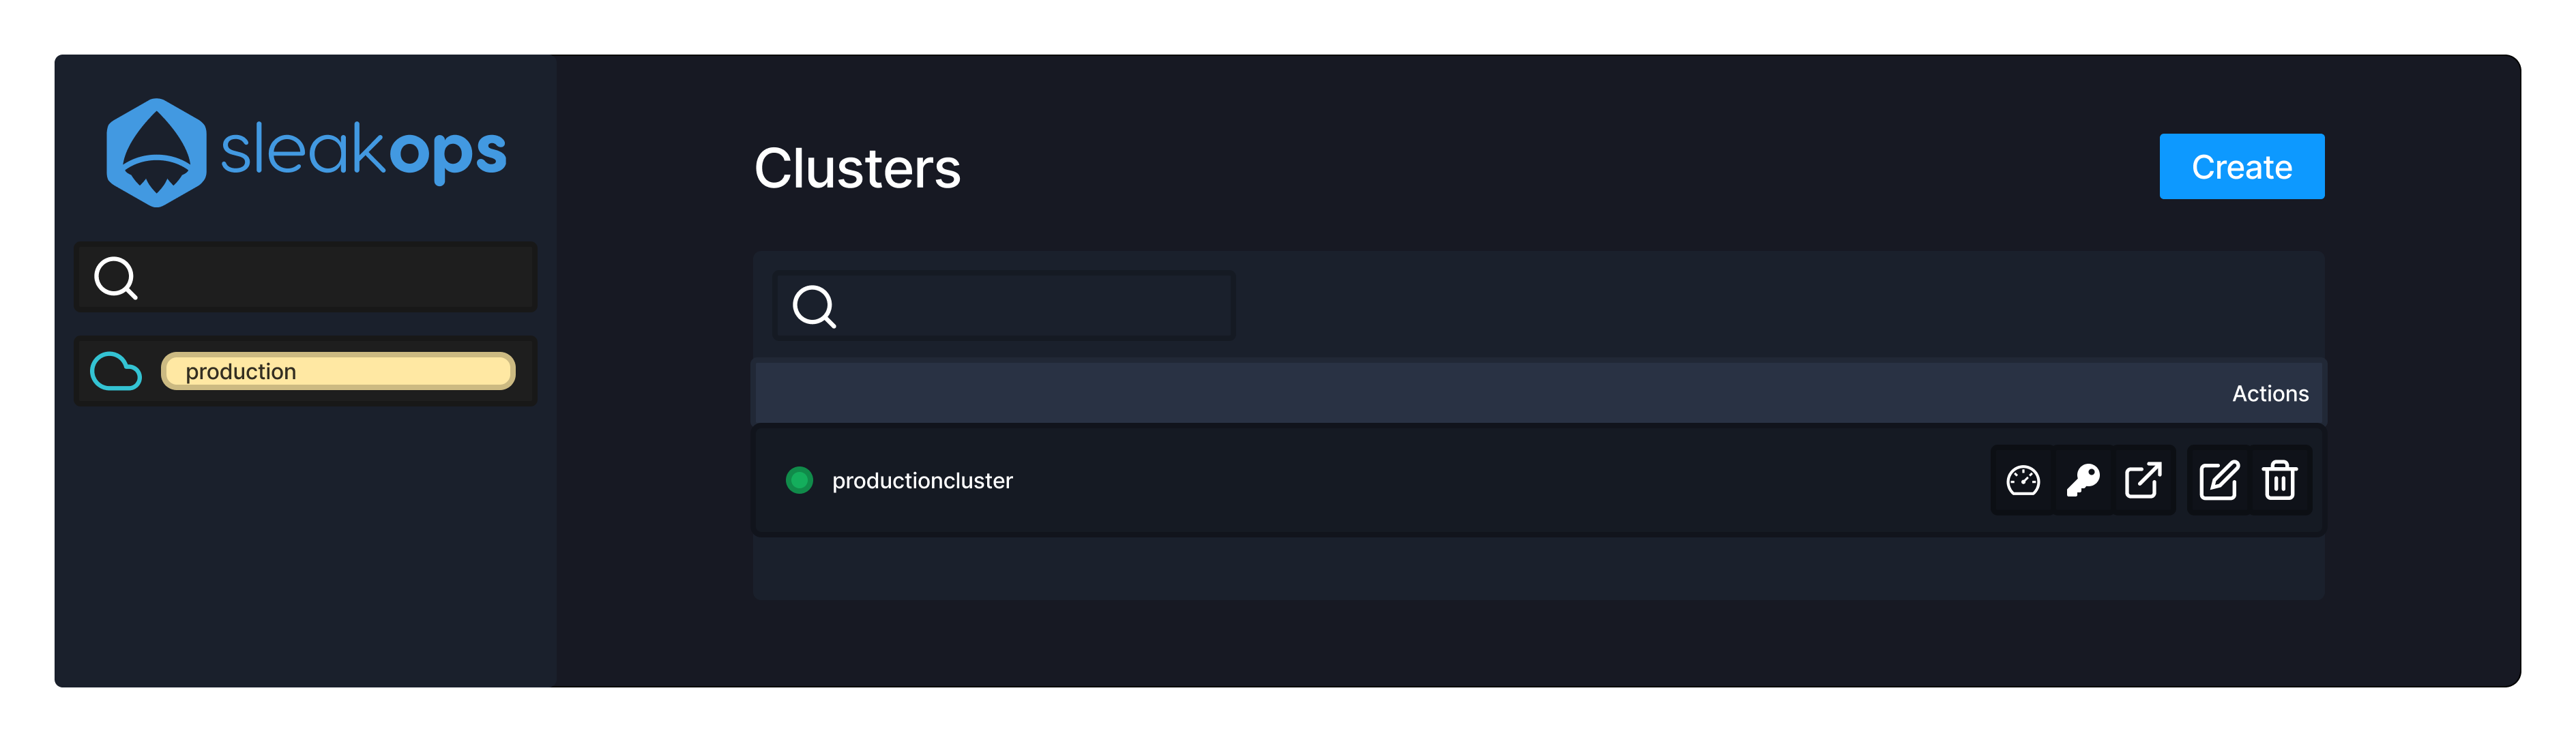
Upon your initial interaction with Sleakops, you'll encounter shortcuts to essential information and quick-access buttons for frequently used tools. These include insights into current and projected infrastructure costs, VPN access, direct access to the company's AWS account, Hosted Zones creation and management, and more. Additionally, when you're set to create a new resource, the display transitions to a table format, enabling you to effortlessly create or modify elements within your infrastructure.
- Dashboard
- Table